Do you have acne breakouts or a dull-looking face most of the days? We totally feel your qualms! And nope, we aren’t here to suggest you any of our favorite face creams. We’re instead asking you to switch to steam treatments as they form a very essential part of skincare routines. Steaming helps in deep cleansing the pores, improving the circulation of blood to the face, and it also gives an overall glow to the face. And we’ll tell you why… you see, clogged pores are the biggest contributors for all of those acne breakouts, whiteheads, and blackheads. And whether you have an acne problem or suffer from blemishes, cleansing your facial pores by steaming your face is the best way to treat your face. The warm steam makes your face sweat, this opens up the pores, softens the first layer of your skin and releases out the debris and dirt that could be confined in your facial pores.
Steaming face can also help battle problems of the common cold as well. So, the next time you want to look all fresh, one steam treatment is all it takes. And it can all be done in the comfort of your home. So, how do you steam your face?
How To Steam Face Guide
Here’s a step-by-step guide for you to follow and reap the benefits of steaming your face. Read on to know more.
Step 1
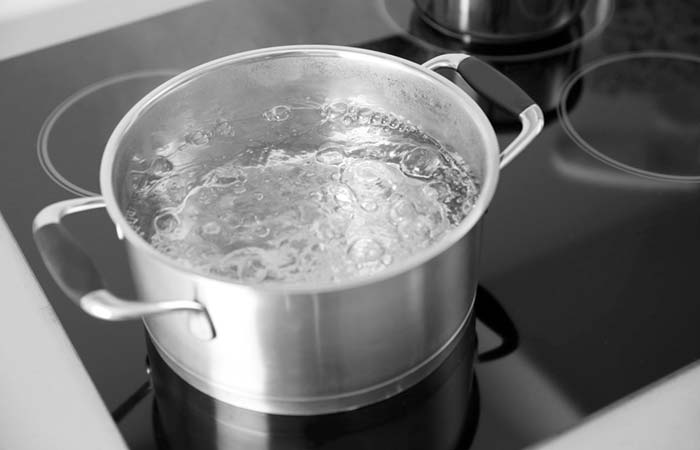
It’s the preparation step. All you need to do is bring two to three cups of water to a boil in a small pot. You don’t have to fill the pot with water.
Step 2
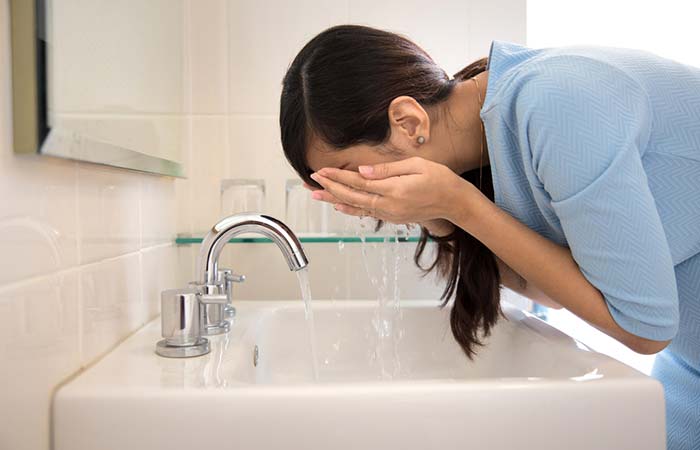
While the water is on its way to reaching its boiling temperature, you need to prep your face for the steam. Remove all the makeup (if you have any) from your face and wash it with a mild cleanser.
Make sure your face is clean. Also, make sure you haven’t used any exfoliating scrub before you want to steam. Because steaming your face after scrubbing it can cause the skin to burn or can cause mild to severe irritation as well.
Step 3
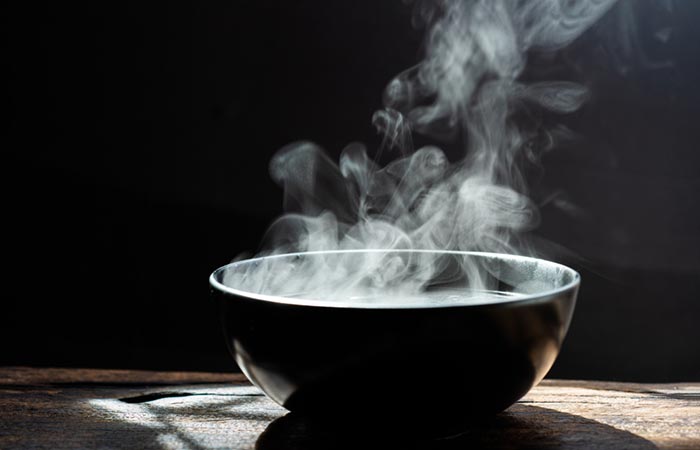
Now transfer the steaming hot water into a wide bowl; a ceramic one would be perfect. Make a note to not use any plastic bowl as you don’t want to steam your face with plastic molecules, do you?
Step 4
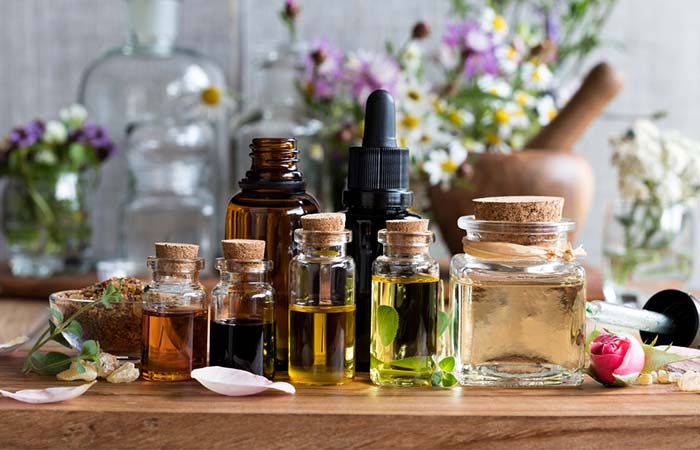
When you transfer the water into a bowl, this is the time you can add your favorite essential oils whose benefits you swear by for your skin. This will make the treatment very powerful. If you don’t want to include it, it’s completely fine. However, adding therapeutic oils makes for an aromatherapy session along with steaming benefits.
Step 5
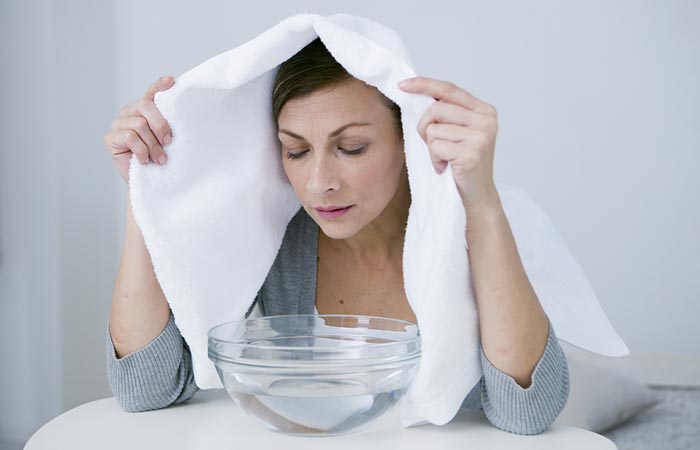
Now slightly bend over the bowl facing downwards. Take a towel and put it over your head such that it falls on either side of your face. Doing so will trap the steam around your face. Bend enough to feel the steam massaging your face. Make sure you don’t touch the water and burn yourself.
Let your face feel the steam coming out from the water for five to ten minutes. If you have severe acne you can reduce the steam time. But we suggest that you consult your dermatologist before deciding whether you can try a steam treatment or not.
Step 6
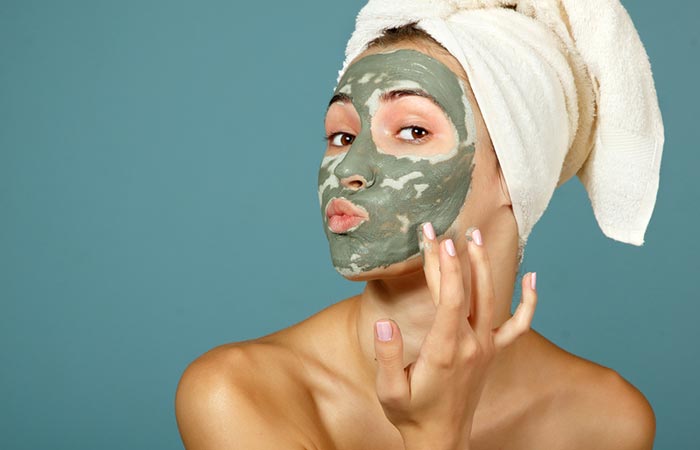
Now that you’ve steamed your face, it’s the perfect time for you to apply your favorite face mask as your facial pores have opened up. We suggest applying a clay mask as it works best. Let the mask dry and you can wash it off later.
Step 7
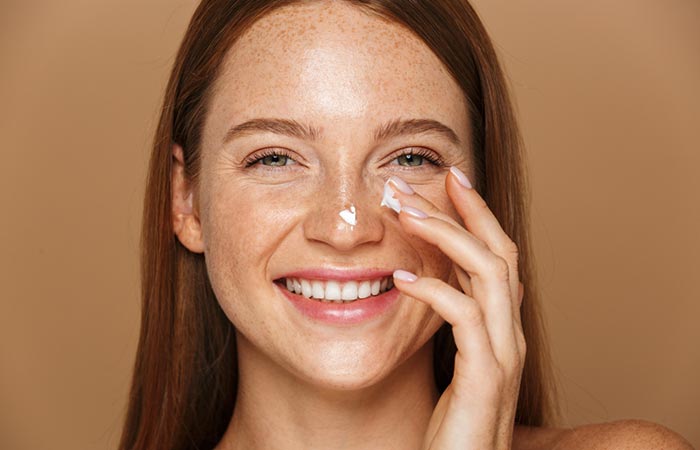
Next, you’d be applying a facial toner. Use a paraben-free one and with the help of a cotton ball you can apply it. Once you see that the skin has soaked the toner, you can apply a moisturizer. Applying a moisturizer is important as all that steam and heat can make your skin very dry. Therefore, giving it some hydration is very important.
Now that we’ve taken you through how you could steam your face while at home, allow us to enlighten you with some of its benefits as well.
Benefits Of Steaming
- It cleanses our skin and opens up the pores that are clogged with dirt.
- Not only does it improve blood circulation to your face, but it also allows the minerals and vitamins to work their magic on the skin from within.
- Steaming makes way for all the trapped sebum to head out. We all know how excess sebum when stuck in our pores, can lead to acne issues.
- Steaming is a very hydrating process; it allows our skin to control its oil secretion. It also moisturizes the skin.
- It also promotes elastin and collagen production.
- And most importantly, it also allows our skin to make the best use of skincare products which we apply onto it.
We suggest that you steam your face at least once a week. And make sure your eyes are closed when you’re steaming. And if you have acne-prone skin, always get a nod from your skin specialist and then go ahead with steaming your face. Have you steamed your face before? Did it work for you? Let us know in the comments section below.
The post How To Steam Your Face – Step By Step Guide appeared first on STYLECRAZE.
from STYLECRAZE https://ift.tt/2O4gHJx
via IFTTT


No comments:
Post a Comment